
How to successfully install the Superlatch digital lock for wooden gates in 8 steps

Many keyless combination locks on the market require a precisely shaped hole, which takes time, effort, and patience. Many timber gate owners are therefore put off installing a digital lock for wooden gates.
We want to simplify gate hardware, which is why we’ve developed our range of wooden gate locks that are easier to install.
So, even if you’re not a big DIY enthusiast, fitting the SLDS is easy.
What’s included in the kit
- Digital keypad
- Lock mechanism
- Lock keep
- 1x rubber gasket (to sit between the keypad and the wooden post)
- 6x fixing screws
- 2x spindles (1x for up to 45mm thick gates and 1x for up to 75mm thick gates)
- 2x M5 x 60mm screws (to use for gates up to 45 mm thick)
- 2x M5 extension pieces (to use with M5 screws for gates up to 75mm thick)
- 1x recessed washer (to cover the back of the top hole for the keypad)
- 1x spring to attach to the latch
- 1x spec sheet including drilling guide and installation instructions
What you’ll need
- Screw driver
- Drill with 3/16″ and 15/32″ drill bits
- Grinder or similar metal cutting tool
How to install the SLDS – our new digital lock for wooden gates
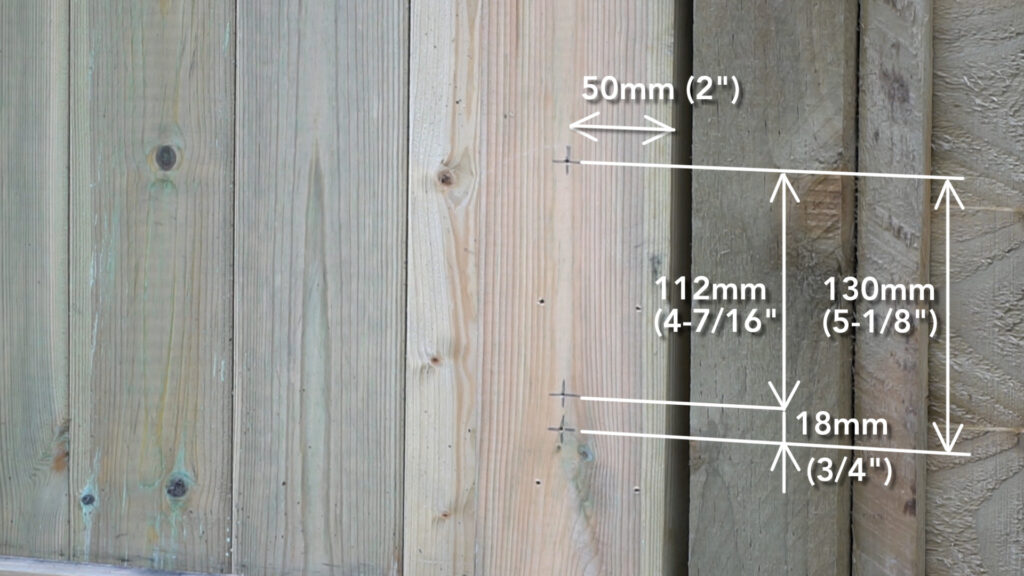
Step 1: Choose the placement
Select a comfortable height for your lock and mark the drilling holes as shown.
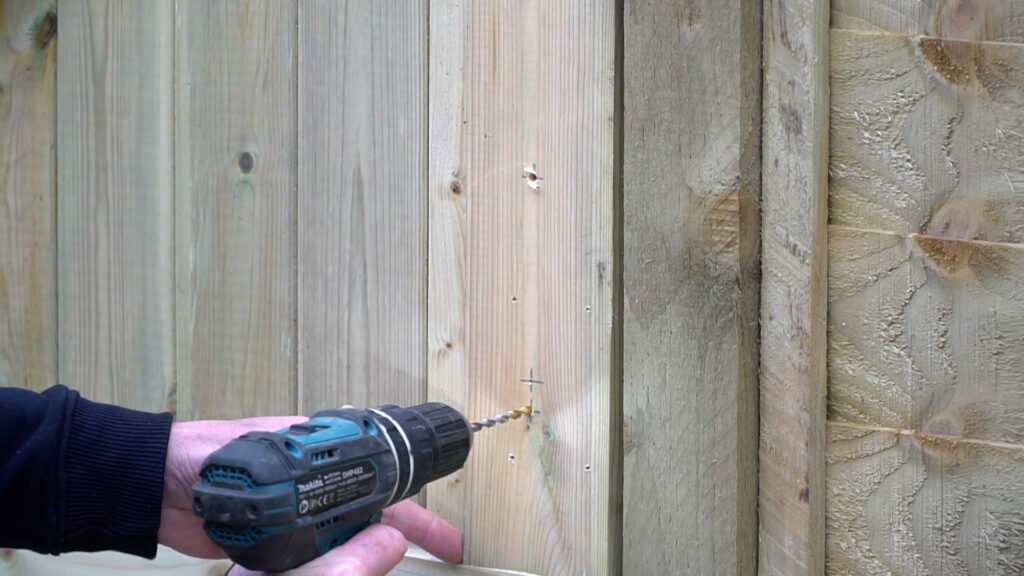
Step 2: Drill the fixing holes
Drill the top and bottom fixing holes to 5mm (3/16″) diameter.
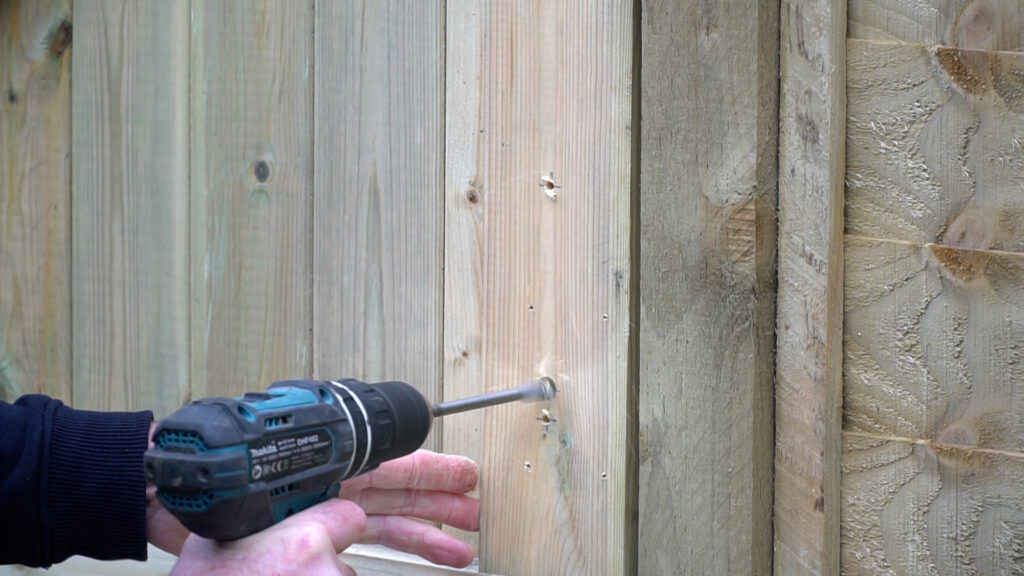
Step 3: Drill the centre hole
Drill the centre hole to 12mm (1/2″) diameter.
Tip: Drill part way through, then mark and drill from the other side to help make sure the hole is straight.
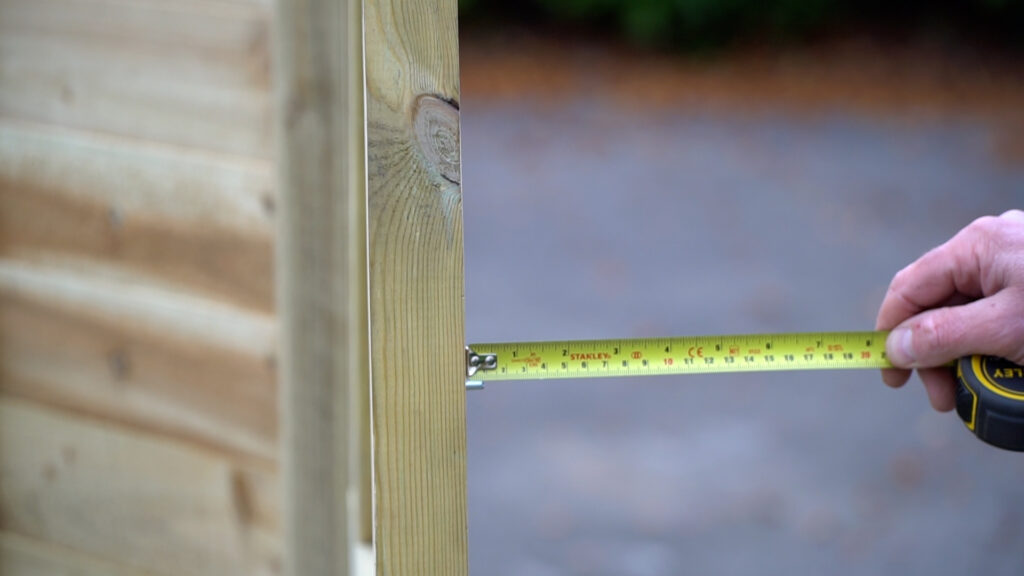
Step 4: Insert the fixing screws
Insert the keypad fixing screws in the top and bottom holes.
Cut the screws to length if necessary; they should only protrude 8mm (5/16″).
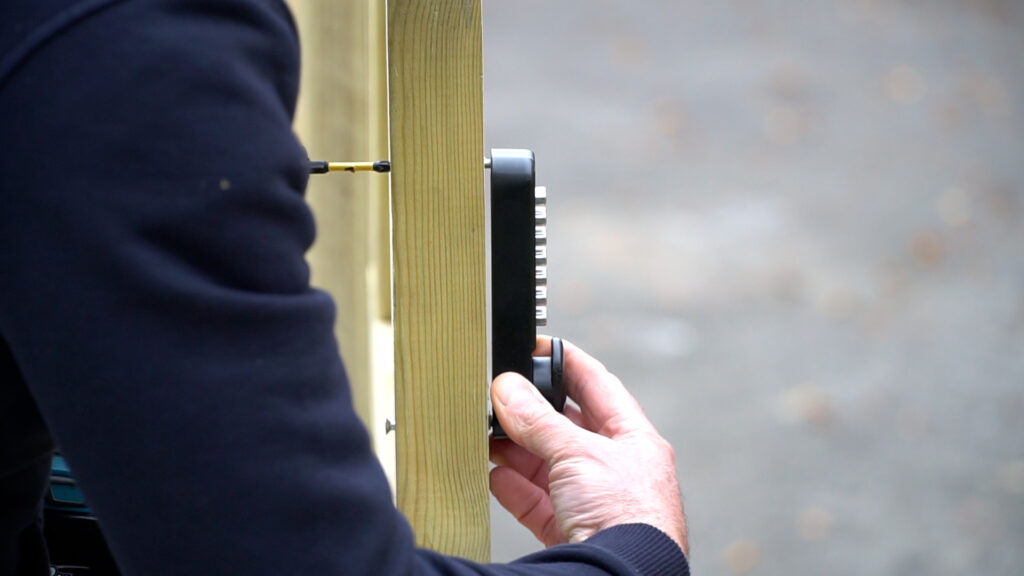
Step 5: Fix the keypad
Fix the keypad on the outside of the gate using the fixing screws.
Step 6: Insert the spindle
Insert the flat spindle through the centre hole.
Make sure it is fully located in the back of the keypad.
Make sure it only protrudes 13mm (1/2″); if it is too long, cut it to length.
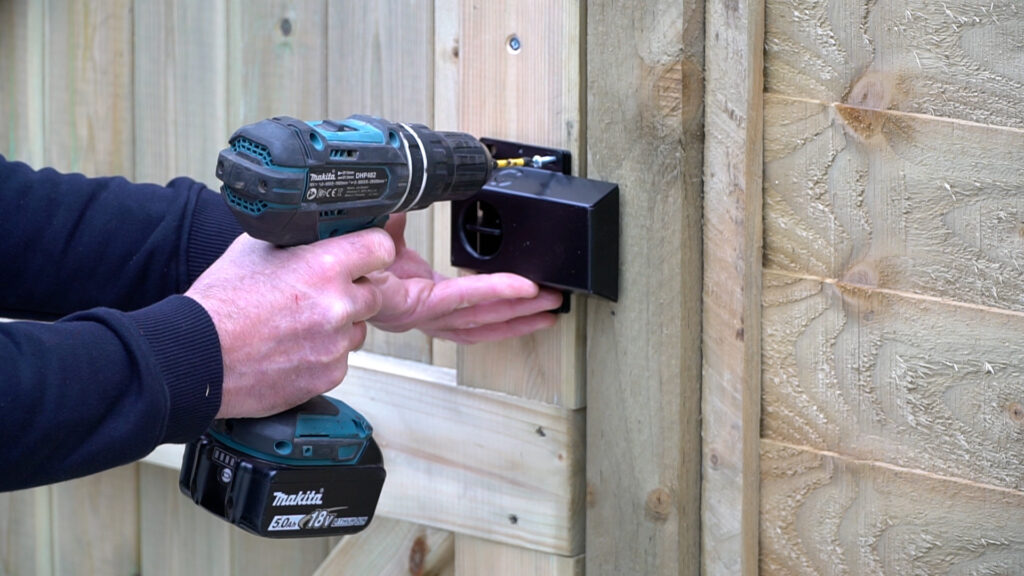
Step 7: Fit the lock
Place the lock with the latch and cover shroud attached onto the spindle and fit with the wooden screws to the gate.
Tip: Pilot drilling the holes before fixing is recommended.
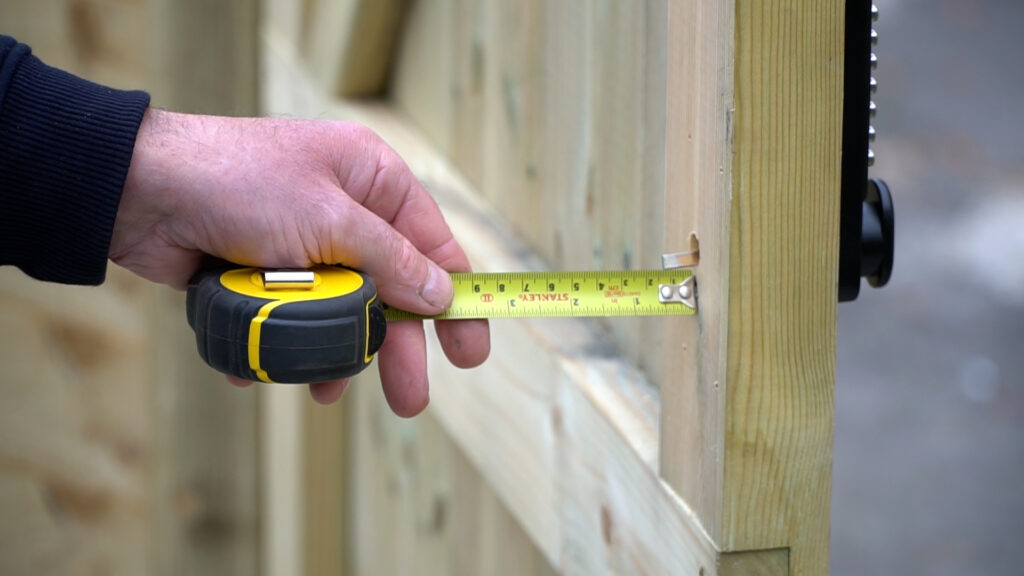
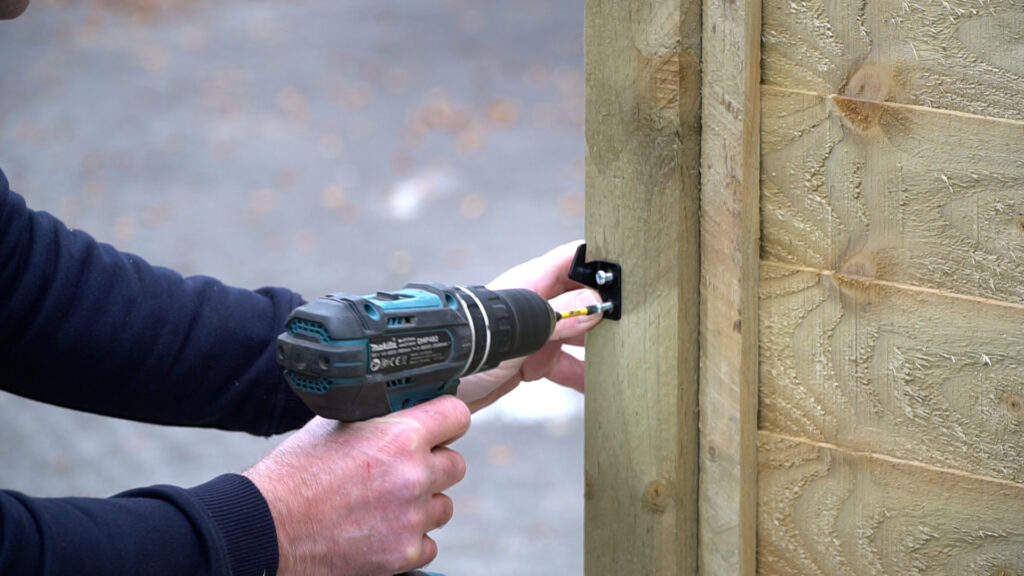
Step 8: Fit the keep plate
Mark where the latch will strike on the gate post and fit the keep plate with the two remaining wood screws.
Watch the full installation video
If you are having issues or need clarifications, watch our How To Video below or get in touch with us for any technical questions.


